Teardrop Trailer Maintenance Tips
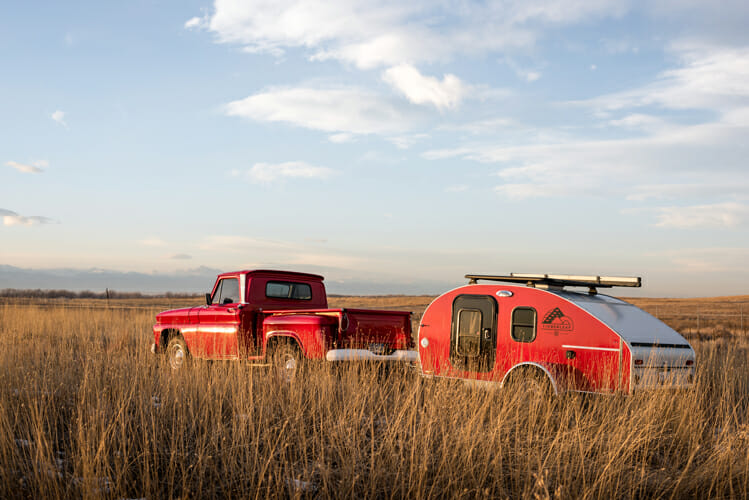
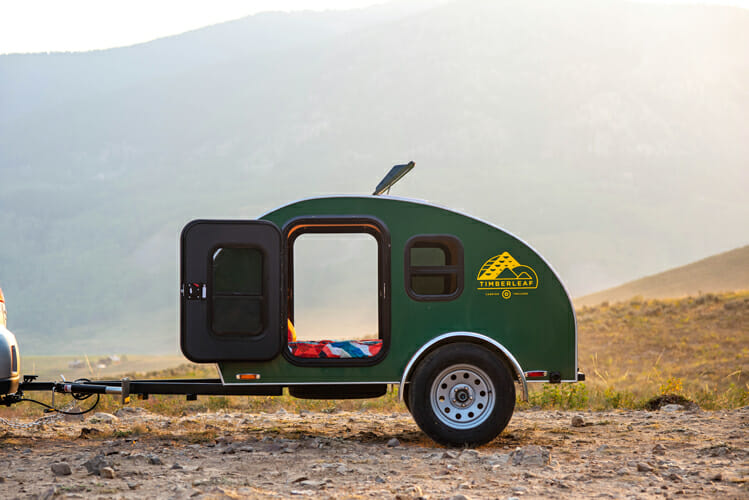
Just like a car, a teardrop trailer needs regular maintenance to stay in good condition. Unlike car repairs, trailer maintenance is an easy DIY project for most enthusiasts, requiring little to no special equipment or training.
Even compared to other styles of RV, maintaining a Timberleaf Teardrop Trailer is a breeze! With simpler designs and fewer moving parts like slide-outs to care for, you’ll spend more time enjoying camping trips and less time preparing for them!
Keep reading to learn the essential elements of teardrop trailer maintenance:
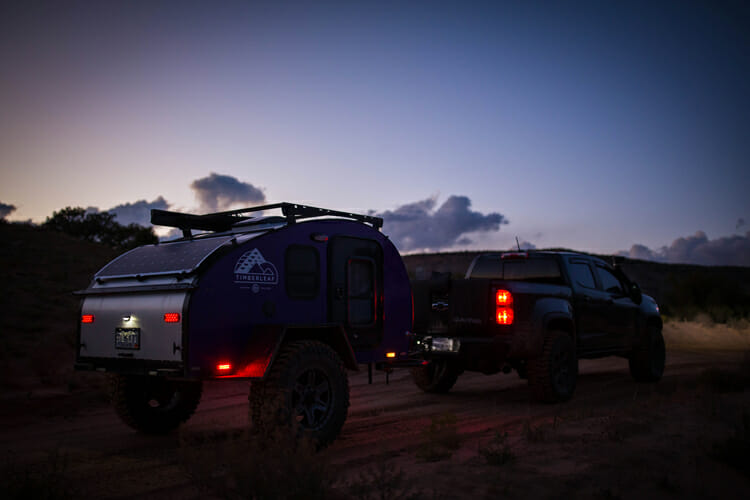
How much maintenance does a Teardrop camper need?
Teardrop campers generally require less maintenance than other types of trailer or motorhomes due to their simple and robust construction. However, the actual amount of maintenance they need will depend on a variety of factors:
- Climate: Life in the rust belt or near the sea is hard on all things mechanical and your trailer is no exception. On the other hand, more moderate climates will mean less maintenance.
- Storage: The sun’s powerful UV rays slowly but surely degrade fiberglass, plastics, and resins, so open-air parking will result in accelerated wear. Covered parking is better, and a garage is the best! With their compact size, teardrop trailers actually fit in most household garages!
- Type of Use: If you typically take your trailer out on glamping excursions with paved parking pads and full hookups, then you will enjoy less maintenance than if you take your trailer out on multi-day overland trips. Don’t let a bit of maintenance scare you off from intensity though! Timberleaf trailers are built for adventure.
What should be on my travel trailer maintenance list?
Hitch
Your teardrop trailer’s hitch is a piece of mission-critical equipment and should be inspected before and after every trip. The good news is that hitches are very robust and don’t require much maintenance to provide decades of service.
After getting back from trips you’ll want to remove any dust and dirt from the hitch. Applying a thin coating of rust inhibitor or grease every 6 months keeps rust at bay.
Battery
The typical RV battery is a deep-cycle lead-acid battery and when properly maintained will provide 3-5 years of service. The most important thing to consider about batteries is that storing them at low levels of charge will vastly shorten their lifespan. Ideally, you want to keep the battery on a trickle charger or battery tender whenever you’re not using your trailer.
Flooded batteries have an electrolyte solution that needs to be topped up occasionally as it evaporates. Check the fluid levels and ensure that the plates are fully submerged. If the level is too low, top up with distilled water (do not use tap water!).
Lithium batteries are a little bit of a different ballgame; these batteries have a built-in Battery Management System (BMS) that controls the battery itself. They don’t require nearly as much attention to the charge state, nor do they need to be kept on a trickle charger. But it is a good idea to remove the battery from the trailer and kept in a warm, dry place for the winter to keep the top-tier battery in good working order for years to come. One thing to note: lithium batteries only charge when the cells of the battery are above 32-degrees-farenheit; for this reason we exclusively use the Battleborn Batteries self-heated battery, when charging in cool or cold weather, simply turn the red switch ON in your trailer’s galley and it will keep itself toasty enough to charge on cold days – but don’t sweat, the heating element is thermostatically controlled to shut off to prevent overheating.
Before going out on your next overland adventure check the state of charge to ensure that the battery is working as it should. It is better to learn that your battery is dead while you’re in the comfort of your driveway than deep in the backcountry!
Roof
Teardrop trailer roofs vary by manufacturer, but generally are quite robust and offer leak-free performance without much regular maintenance. If you have seals on your roof (particularly along openings in the roof for exhausts fans or skylights), you’ll want to replace the seal every few years.
Tip: Check with your manufacturer to see what sealants they recommend, and don’t forget to care for the seals of your doors and windows too!
Awnings
When properly taken care of, awnings can last many seasons without any problems. At Timberleaf we carry Rhino and Moon Fabrications awnings, both of which are premium brands which require very little maintenance.
The most important step in taking care of your awning is to allow it to dry before storing it long-term.
It’s OK if you need to drive back in from the campsite with it wet from a weekend camping, but if you leave it rolled up for a few weeks while it still is wet, you’ve created a breeding ground for mold and mildew!
Whenever you’re stowing the awning, you’ll want to ensure that the awning is rolled up as neatly as you can. Creases and wrinkles can develop into weak spots over time.
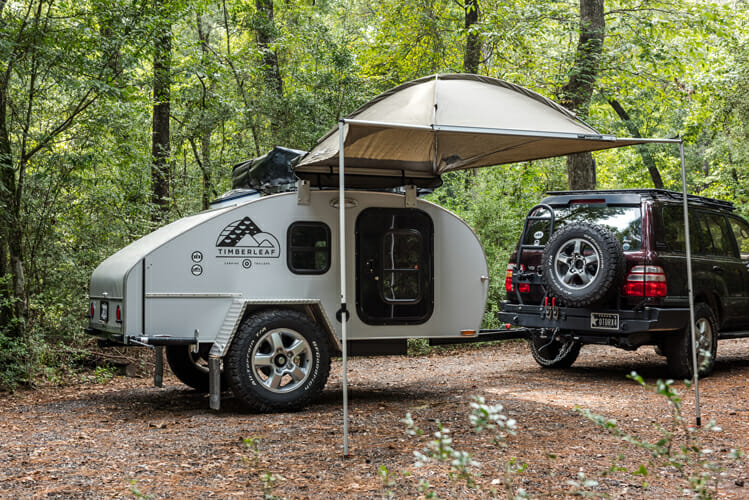
Electrical and Lights
Your trailer’s electrical system should be a part of your pre-departure maintenance checklist. Check your trailer and tow vehicle’s wiring harnesses and electrical connections for signs of corrosion or damage and verify that your trailer’s brake lights and turn signals are functioning before every trip.
Tip: Setting off on your own? To check your brake lights by yourself, back your trailer up close to a wall at night and watch for their reflections in your side mirrors.
In addition to the running lights, you’ll want to check that your trailer’s interior lights, switches, and accessories are working before embarking on your next adventure.
Suspensions, Axles, and Hubs
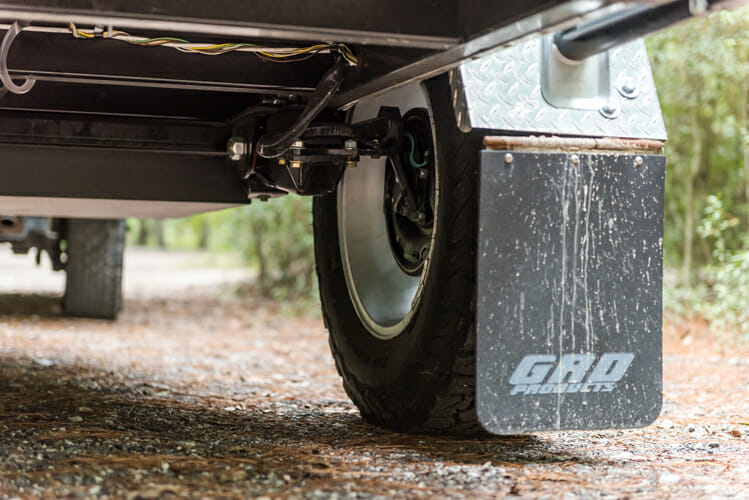
Caring for your suspension, wheel bearings, and hubs is an important part of RV maintenance, although the exact procedures and maintenance schedule will vary by manufacturer. At Timberleaf we recommend lubricating the hubs and suspension annually or every 12,000 miles. See our video guide to learn more about how to complete this vital maintenance task.
Brakes
Most teardrop trailers use electronically controlled drum brakes. These are reliable systems, but should be inspected regularly. Verify your brakes are functioning before each road trip by engaging your brake controller until you feel the trailer brakes begin to apply a drag to your tow vehicle.
The brakes and brake controller should be inspected by a mechanic every 6 months of 10,000 miles, whichever comes first.
Tires
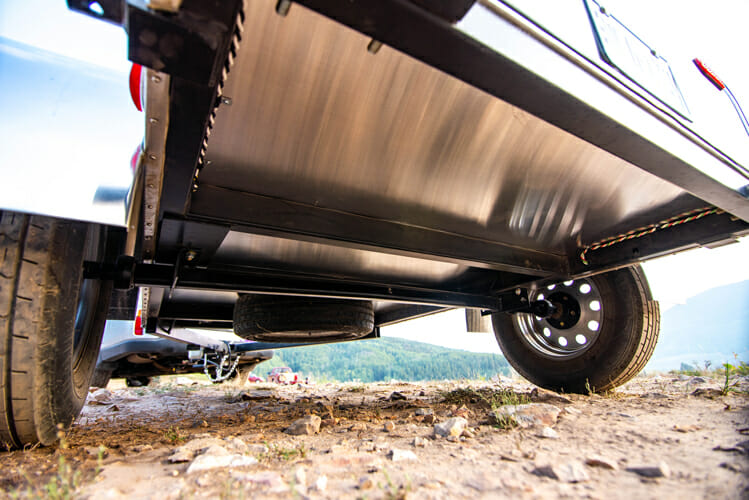
Trailer tires need love too! Check tire pressures, including spare tires, before your trip and be aware that tires have maximum load limits. If you’re loading your trailer down with supplies and water you need to keep this number in mind.
When offroading, remember that you should air down your trailer tires too. Even though they’re not drive wheels, the reduced air pressure acts as cushioning and can prevent the trailer from bouncing as you traverse uneven or rocky terrain. Remember to bring the tires back up to pressure once you’re back on the pavement.
Warning: Improperly inflated or overloaded tires may result in a blowout at highway speeds. Always re-inflate your tires after airing them down for offroad use!
Trailer tire tread tends to outlast the tires themselves, so you’ll want to keep an eye out for cracking or dry rot. Tires should be replaced every 6 years regardless of tread remaining or mileage, as they gradually succumb to the debilitating effects of oxidation.
You can check the age of your tire by finding the Tire Identification Number on the sidewall. This code starts with DOT and is followed by 12 characters. The last 2 numbers signify the year + 2000, and the 2 numbers preceding that signify the week of manufacture. For example DOT WRAS KEXP 3218 would refer to a tire manufactured in the 32nd week of 2018.
Propane tanks and gas lines
We recommend that all trailers with propane tanks have a propane / carbon monoxide detector installed. These devices look and act like smoke detectors and usually have a test button on their face. Test the detector before each trip.
Additionally, verify that you have enough propane in your tank before leaving! Your Timberleaf trailer’s full kitchen is a lovely place to cook dinner and it would be a tragedy to have to eat cold meals because of an empty tank!
Fluids and Tanks
Unlike automobiles, teardrop trailers for the most part don’t rely on fluids for critical operations. Instead, travel trailer fluids are mostly confined to your water system and waste water system.
You will want to ensure that your greywater and blackwater tanks are emptied before traveling and storage. Periodically you should thoroughly clean your holding tanks. There are a variety of cleaning products on the market ranging from spray nozzle heads to liquid cleaners you pour into your system. Follow the instructions on whichever cleaning product you’re using for best results.
Tip: Empty your black tank first and then empty your greywater tank. The greywater will help to flush any lingering ‘residue’ from your discharge hose.
When you’re storing your trailer in the winter months you’ll want to winterize your plumbing by draining the entire system, including your fresh water tank and lines. Failure to do so may result in cracked pipes and water damage as the leftover water freezes and expands.
Enjoy the Adventure
With just a little bit of love and care your Timberleaf Teardrop trailer will withstand the tests of time, taking you on decades of adventures. Built on a fully welded steel frame with an aluminum exterior, Timberleaf trailers are built to take your adventures wherever your heart desires – even when the pavement ends.
