How To: Winterizing Your Trailer

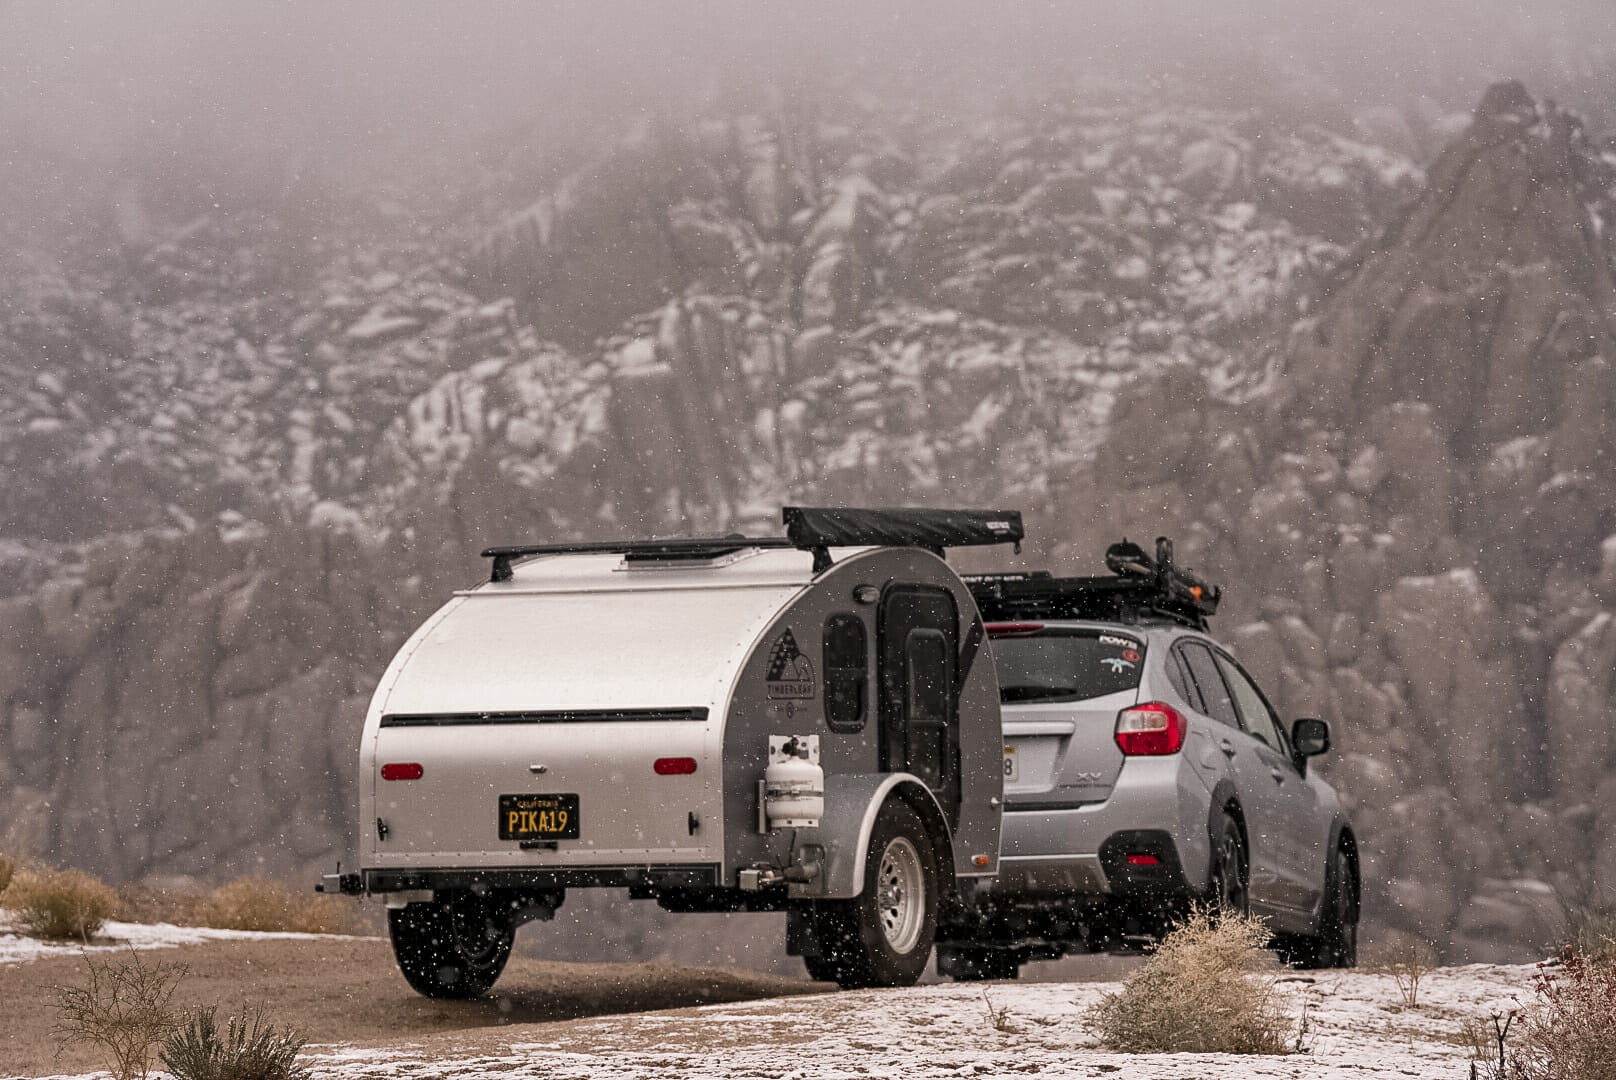
Image: Mike O’Hara Photography | Instagram @mikeoharaphoto
When it comes time to prepare for winter, it’s important to remember to prepare your trailer for below-freezing conditions and long-term storage to prevent unwanted surprises in the spring time. Luckily, teardrop trailers are some of the lowest-maintenance camping trailers around, so we’ll have our work cut out for us. In this article, we will cover:
- Preparing your plumbing system for below-freezing temperatures
- Keeping your AGM & Lithium batteries happy
- Cleaning and mildew prevention of the cabin and galley
- Protecting your trailer from the elements
Disclosure: Some of the links below are affiliate links as part of the Amazon Affiliate Program.
To prepare your plumbing system for the winter is one of the most critical parts of preparing your teardrop trailer for winter storage. If even a small amount of water is left in the plumbing system to freeze, it could cause the plumbing components to crack or burst, resulting in an unpleasant and even costly surprise come spring time.
In order to effectively winterize your trailer’s plumbing system, we will need the following supplies:
Note: We recommend using the Splash RV Antifreeze or a comparable propylene glycol based antifreeze. It is non-toxic, non-flammable, and will not taint the water tank or lines. Please avoid using any RV Antifreeze containing ethanol, or a propylene/ethanol blend.
Step One
Begin by draining the water tank. Power on the pump by switching the green pump switch to ON. Open the faucet and drain the tank through the faucet.
Step Two
Using your funnel, pour 2-3 gallons of the RV antifreeze into the water tank via the water fill port on the side of the trailer.
Step Three
With the water pump powered on, open the faucet and allow the pump to push through any remaining water until the bright pink antifreeze flows through the faucet. Once you have the antifreeze flowing through the system, close the faucet valve and power off the pump by turning the green pump switch to OFF.
And that’s it! Your water system is fully prepared for winter. The RV antifreeze should prevent any standing water from freezing within the key components of the plumbing system during the winter and will help prevent the pump, water strainer, or faucet internals from cracking or bursting.
Be sure to fully de-winterize your water system in the spring before your first camping trip of the year by cycling fresh water through until no pink fluid remains and using Camco’s TastePURE fresh water cleaner & de-winterizer to effectively clean the water tank and lines for drinking water.
Whether your trailer is equipped with the standard AGM battery or the optional lithium battery, proper maintenance is key to ensure a long service life of the battery without reducing its charge capacity. The AGM battery is the most susceptible to long-term damage from accidental over-drainage, and proper care must be taken to ensure that your battery lasts as long as possible.
In general, when storing your trailer for more than around two weeks without being connected to shore power or solar charging, it is important to disconnect the battery via the battery disconnect switch (50a circuit breaker) below the counter top. Disconnecting the battery will prevent any parasitic power draw on the battery that naturally occurs from the LED indicator lights for the voltmeter, USB ports, and the fuse panel.
To disconnect your battery, simply locate your disconnect switch below the countertop and press the button (some are red, blue, or yellow) and note that the lever on the left side of the breaker drops down, and power is no longer functional to the trailer’s devices.
This method is useful for mid- to long-term storage, but there can still be additional precautions taken. The below methods are assuming the trailer is being stored outdoors or in a non-temperature controlled environment.
Method One
Simply plug your trailer into shore power (110v household outlet). The on-board charger will take care of the rest, providing a variable charge based on the batteries needs from trickle to bulk charging. This method is effective between 32-104 degrees Fahrenheit according to battery industry experts. This method is not recommended for the lithium battery.
Method Two
(Recommended). This approach helps to ensure maximum battery life over the years. Remove the battery from the trailer and store the battery indoors in a temperature-controlled environment or contained within a battery heater, your ideal temperature for this will be from the low-40s to the high-80s. Connect the battery to a trickle charger (we recommend the Noco Genius 10×1), and simply allow it to trickle charge during the cold storage period. When you reinstall the battery in the spring, your battery will be fully charged and happy as a clam!
Note: It is important not to store an AGM or lithium battery by placing it directly onto concrete. Place a piece of plywood, foam, or similar between the battery and the concrete to protect it.
Method Three: Lithium
The lithium battery will not accept a charge when the battery itself is below 32 degrees Fahrenheit. Even if the ambient temperature is up into the 50s, the battery itself may not accept a charge. The lithium does not require a constant charge input like the AGM battery does, but it does benefit from indoor storage in a temperature-controlled environment for optimal longevity. Remove the battery and store it safely indoors until spring time, allow it to fully charge before your first use and you’ll be ready to roll!
We recommend cleaning the interior wood surfaces with a wood-safe oil soap before long term storage, as well as using a moisture absorbent dehumidifier in the cabin and the galley to prevent mildew or unwanted odors from forming during storage.
Cleaning
Using Murphy’s Oil Soap Wood Cleaner or a similar product and a clean dry microfiber cloth, wipe down the interior wood surfaces of the trailer. The Murphy’s oil is an effective cleaner on finished wood surfaces that helps to maintain the finish without harmful chemicals, and leaves a fresh citrus scent behind. It is not recommended to use the oil soap on the skylight.
Dehumidifying
Before sealing up the cabin for the winter, we recommend placing a container of Camco’s dehumidifier moisture absorbent in the cabin (following the instructions on the container) to help absorb trapped moisture that may otherwise lead to mildew or odors.
Camco also makes a smaller container (their Mini Dehumidifier) that is useful to place in the galley.
Mattress cover
For both use and storage, we recommend using a mattress cover, such as the SafeRest Mattress Protector to help keep out dust mites, bed bugs, bacteria, odors, and more.
Cleaning
Prior to storing your trailer, it is recommended to give the exterior a thorough cleaning to prevent unwanted paint and finish damage from stuck-on mud, road grime, bugs, or anything else that may be on the outside of the trailer. Keeping the trailer washed and clean throughout the year is an excellent step toward maintaining a beautiful trailer for years to come. While your preferred washing technique may vary, below are some of our favorite products to help keep your trailer shining.
The Complete Kit
Some of us just go through the do-it-yourself carwash and get our car and trailer “clean enough”, that’s totally fine, but it can leave a little to be desired with the end result. For a complete one-stop-shop of cleaning products for a thorough and gentle at-home clean, we turn to Chemical Guys, one of the big names in automotive detailing for both home and professional use. The crew over at Chemical Guys has assembled a fully outfitted at-home car wash kit with everything you’ll need, from soap to wax, to wash your trailer, tow vehicle, and more! Check it out on Amazon.
The Ultimate Protection
Washing and waxing is a terrific step in the right direction for keeping your trailer’s finish protected for years to come, but when you’re ready for the ultimate protection and hydrophobic finish that is resistant to UV fading, scratches, and sheds dirt, mud, rain, and… other things without batting an eye: look toward ceramic coating.
A DIY application of ceramic coating is not for the faint of heart, the surface needs to be free of all waxes, oils, grime, and polished prior to application of the ceramic coating. The ceramic coatings are very hard and will seal in any of those imperfections if proper care is not taken. Typical ceramic coatings can last anywhere from 6 months to 7 years. Professional application is recommended, but when done correctly it will not only protect your paint, but also help keep the trailer cleaner between washes. Check out the Chemical Guys Carbon Force Ceramic Coating on Amazon
Covering Your Trailer
While we build our trailers to withstand the elements, being stored through the frigid winter temperatures and subjected to snow, rain, and freeze/thaw cycles can wreak havoc on trailer parts and finishes. We recommend storing your trailer under cover, be it in a garage, storage unit, fitted trailer cover, tarp, or other means of protecting the trailer. Using these methods is recommended year-round to ensure optimal protection of the trailer regardless of the weather conditions.
We are currently working with PahaQue to develop some custom-fitted trailer covers to offer for all three trailer models. While those are currently in development, there are a few solutions currently on the market that can help to achieve the goals of protecting your trailer from the elements, albeit a bit less eloquently than the custom covers will be able to do.
- Classic Accessories PolyPRO3 up to 10′ (Fits our Classic with some room).
- Classic Accessories PolyPRO3 up to 8′ (Fits our Pika and Kestrel with some room).
- Harbor Freight Portable Garage / Carport (Larger and more complicated, but provides ample room for your trailer without the risk of damaging your paint).
- Toja Grid Freestanding Pergola, these can be a very cool option, we recommend using a heavy duty canvas tarp rather than the sail shades they offer for optimum protection.
Note: Never store your trailer in direct sunlight with the skylight shade closed.

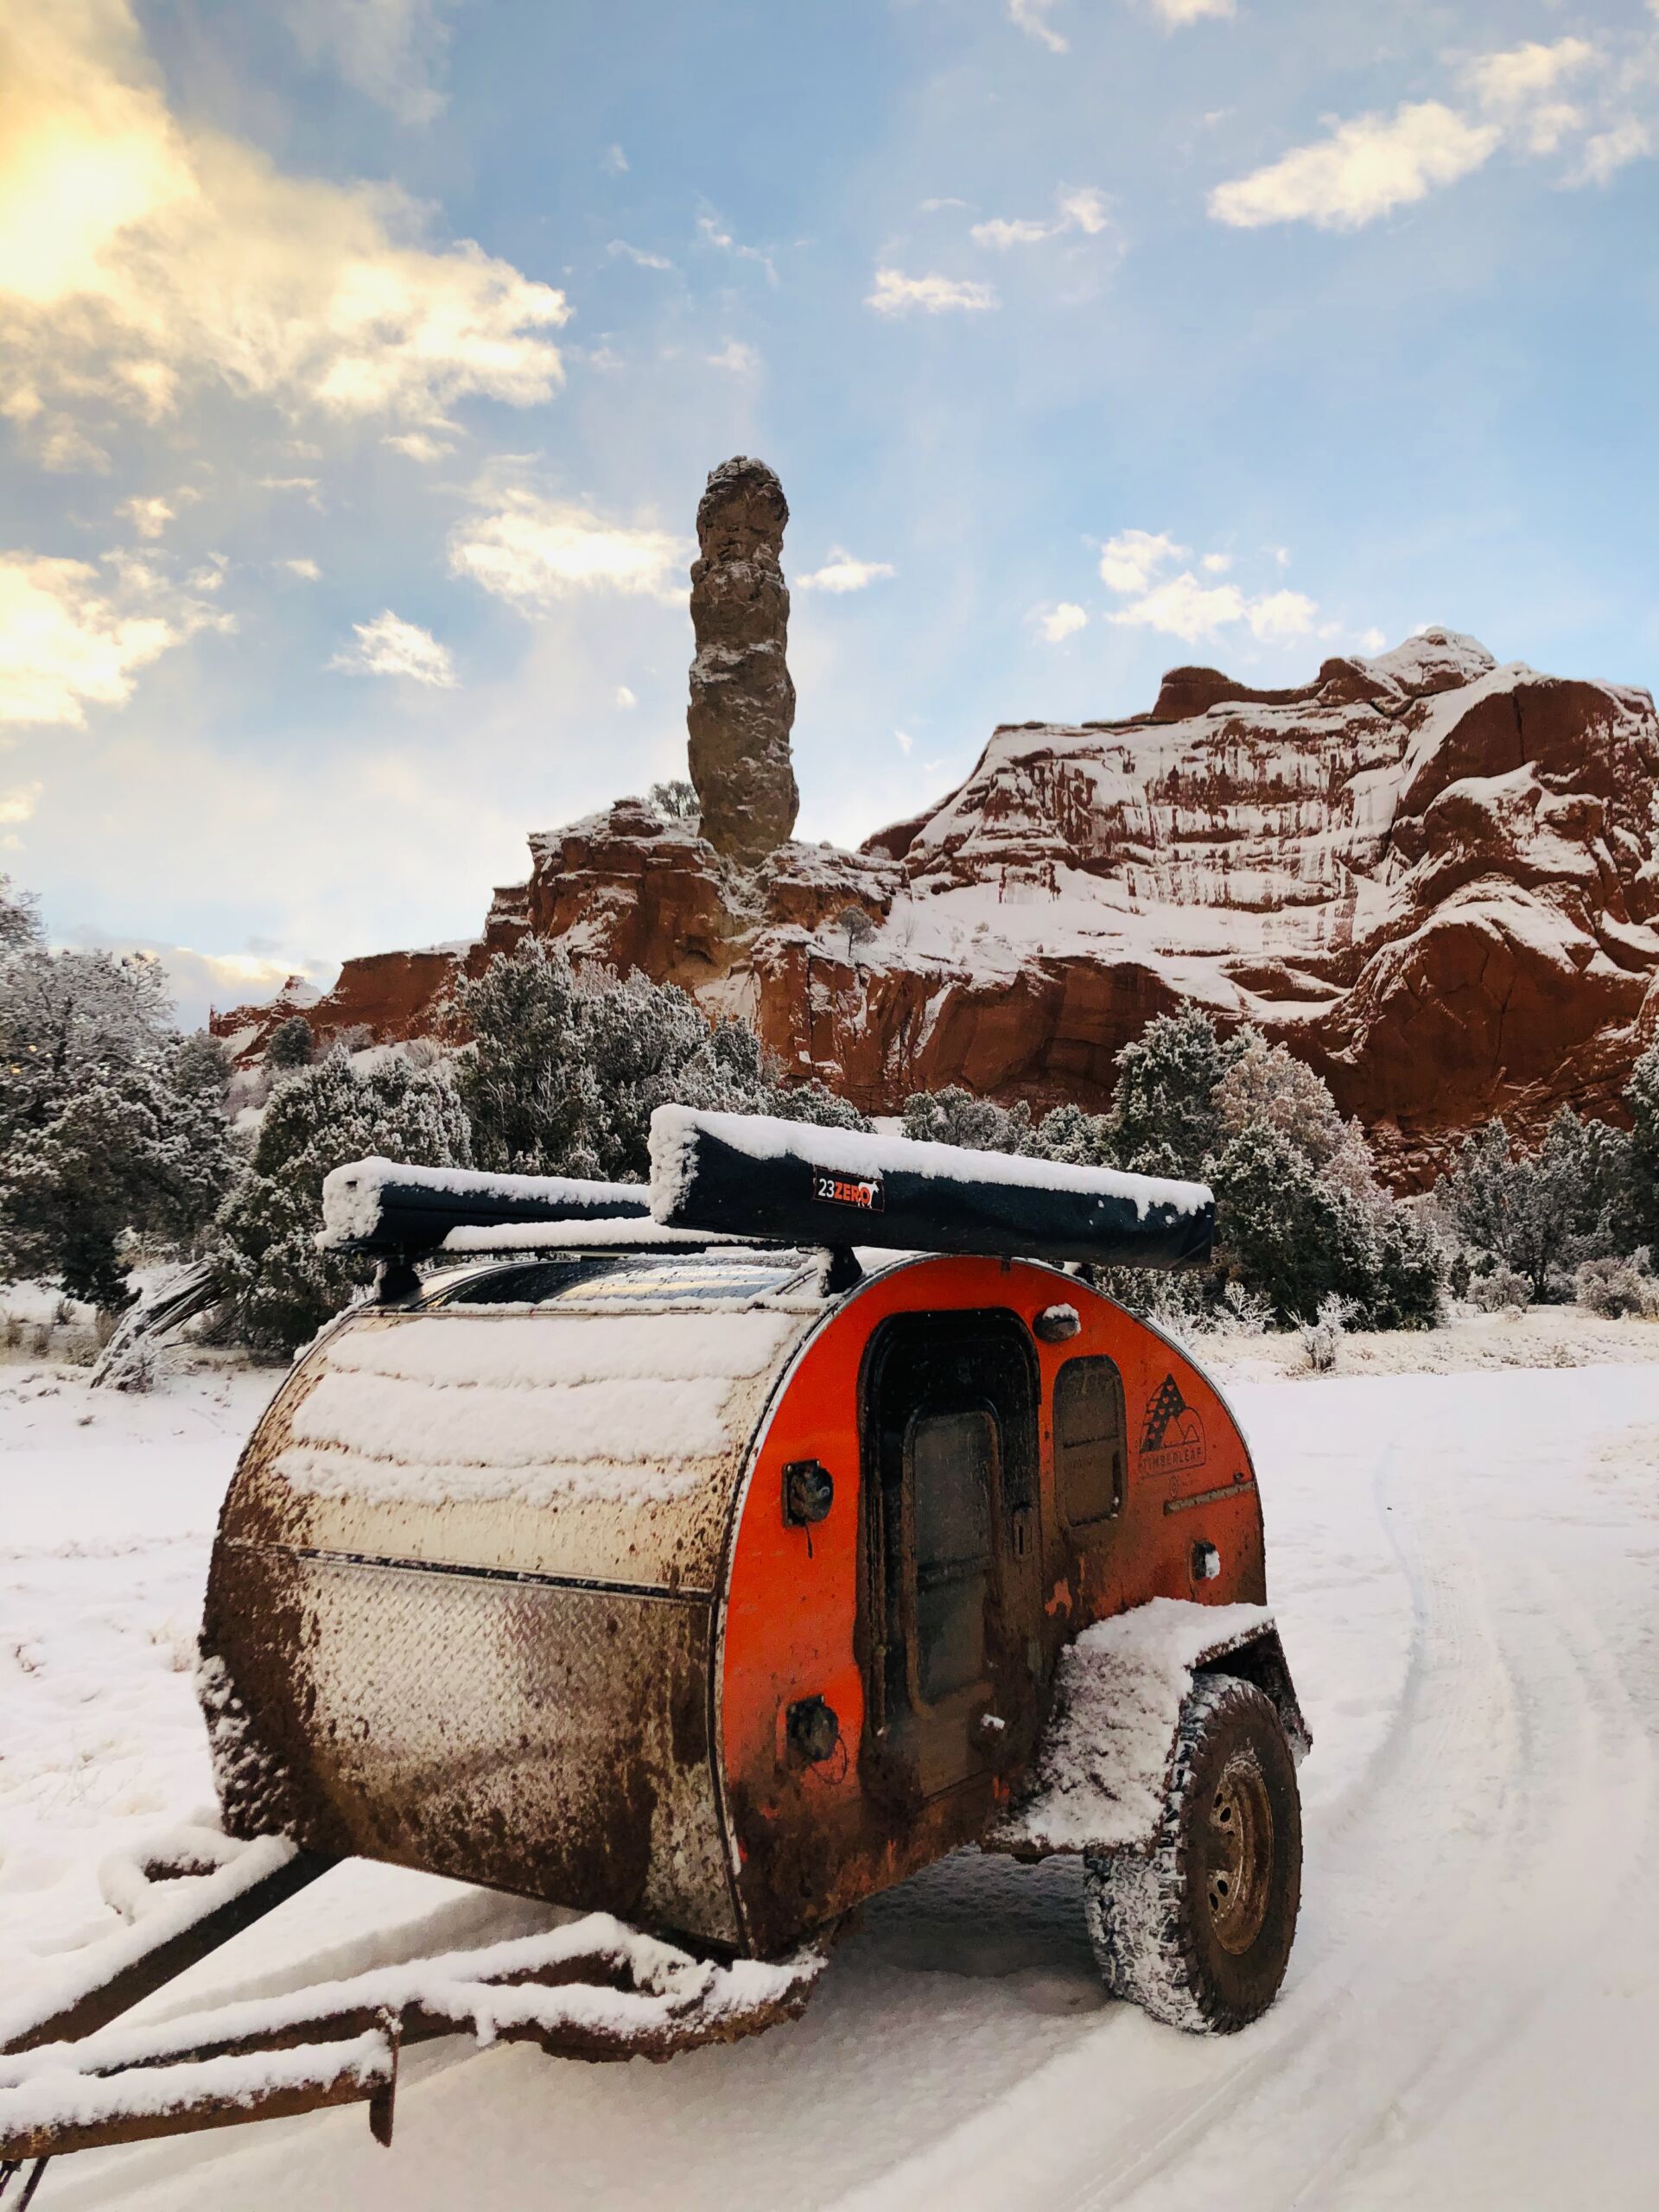
Image: Paul Buck
